Transfer Files with WinSCP on Windows
Traducciones al EspañolEstamos traduciendo nuestros guías y tutoriales al Español. Es posible que usted esté viendo una traducción generada automáticamente. Estamos trabajando con traductores profesionales para verificar las traducciones de nuestro sitio web. Este proyecto es un trabajo en curso.
DeprecatedThis guide has been deprecated and is no longer being maintained.
WinSCP is a free, open source file transfer program written for Microsoft Windows. It implements several file transfer protocols, most notably SFTP via SSH. This tool allows you to securely transfer files to and from your Linode using an encrypted channel, avoiding the security problems and usability issues inherent in traditional FTP client/server systems. WinSCP sends both your login credentials and file transfers over the network securely encrypted, while standard FTP clients send this information as plaintext.
You’ll need to make sure your Linode is running an SSH daemon (all Linodes run an OpenSSH server by default), and that you have a user account on the server before following these instructions. You may wish to verify that you can log into your Linode via SSH using a tool like the PuTTY SSH client before continuing.



Obtaining and Installing WinSCP
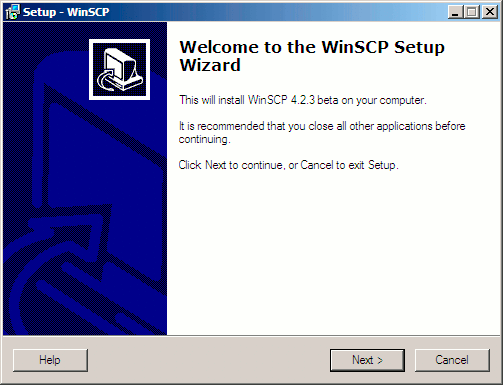
You can obtain the software from the WinSCP download page. Click the link for “Installation package” and save the file to your desktop. After downloading the installer, double-click its icon to launch it. You will be presented with the WinSCP setup wizard; please click “Next” to continue.
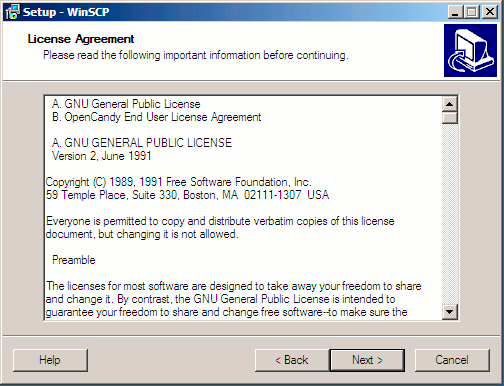
You’ll be prompted to accept the license agreement for WinSCP (GPL v2 licensed as of this writing). There may be additional license agreements included as well, depending on whether the installer includes support for installing third party applications. Should you be asked if you would like to install any such third party applications alongside WinSCP, you are not required to do so to use WinSCP. Read the displayed license(s), and click “Next” if you agree to the terms presented.
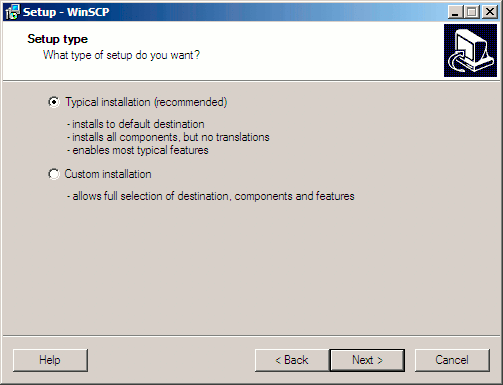
When presented with the option to perform a typical or custom installation, most users will choose the default selection (typical). Click “Next” to continue.
When presented with a choice between “Commander” or “Explorer” interface styles, most users will want to choose the default selection (Commander).
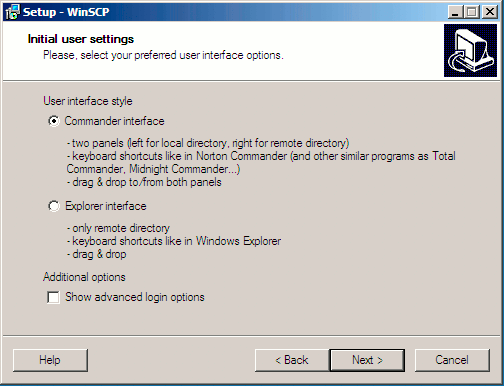
After clicking “Continue” once more, the program should be installed. You’ll be given an opportunity to allow the installer to launch WinSCP for you.
Using WinSCP
Once launched, you’ll be presented with a screen similar to the following:
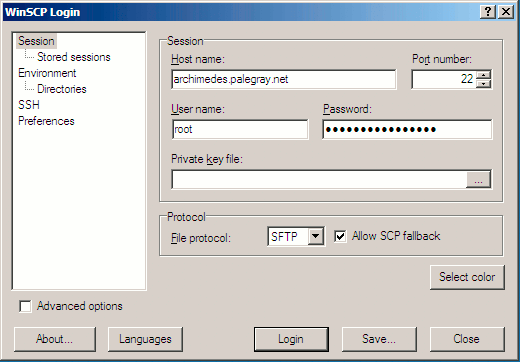
Enter your Linode’s fully qualified hostname or IP address in the “Host name” field. Unless you’ve modified your system to run your SSH server on a non-standard port, leave “Port number” as the default (port 22). Enter your Linux username and password in the next two fields. Click “Login” to begin your session.
You’ll need to specify account credentials that have access to the filesystem location you’d like to transfer files to and/or from on your Linode; in this case, we’ve specified the “root” user, which has administrative access to the system. It’s advisable to create separate user accounts on your system in lieu of using “root” for common tasks; you can learn more about Linux/UNIX users and groups in our users and groups tutorial.
If you haven’t previously logged into your Linode from this workstation with WinSCP, you’ll be presented with a warning dialog similar to the following:

In this case, WinSCP is asking you to verify that the server you’re logging into is who it says it is. This is due to the possibility that someone could be eavesdropping on your connection, posing as the server you are trying to log into. You need some “out of band” method of comparing the key fingerprint presented to WinSCP with the fingerprint of the public key on the server you wish to log into. You may do so by logging into your Linode via the Lish console (see the “Console” tab in the Linode Manager) and executing the following command:
ssh-keygen -l -f /etc/ssh/ssh_host_rsa_key.pub
The key fingerprints should match; click “Yes” to accept the warning and cache this host key in the registry. You won’t receive further warnings unless the key presented to WinSCP changes for some reason; typically, this should only happen if you reinstall the remote server’s operating system. If you should receive this warning again from a system you already have the host key cached on, you should not trust the connection and investigate matters further.
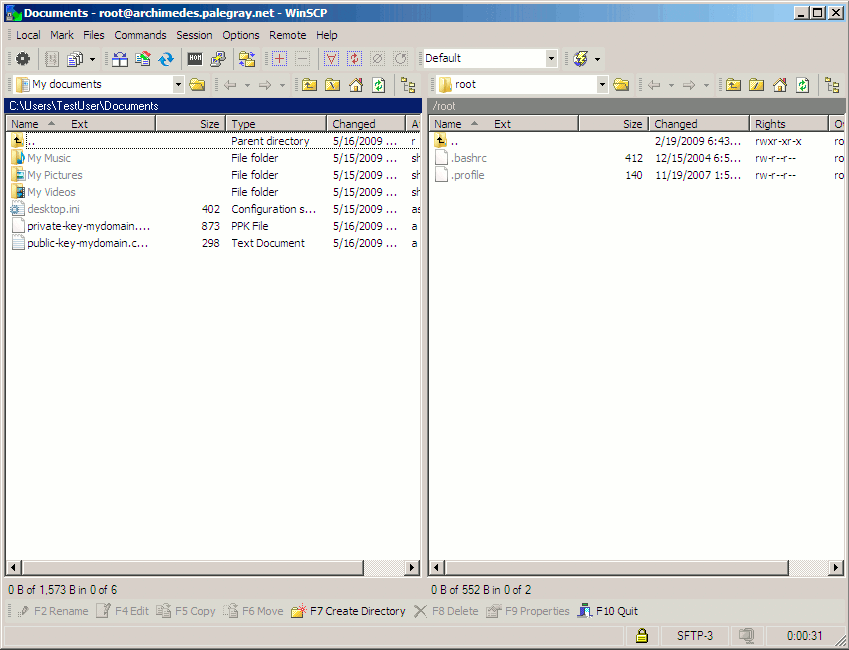
Once you’ve accepted the host key, you’ll be presented with a dual-pane session window similar to the following:

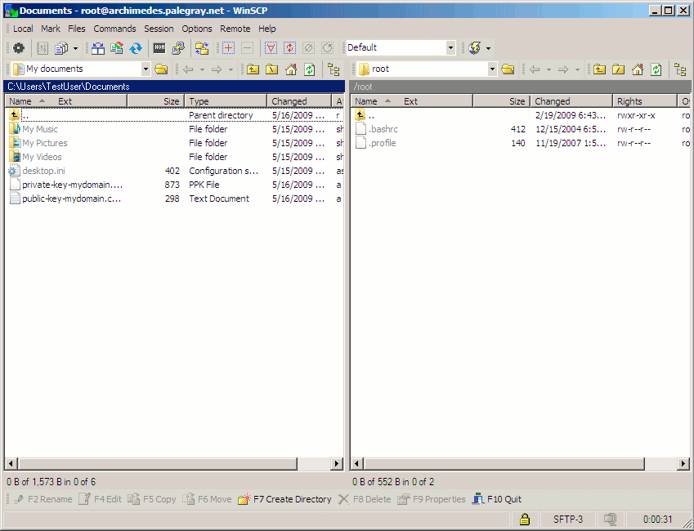
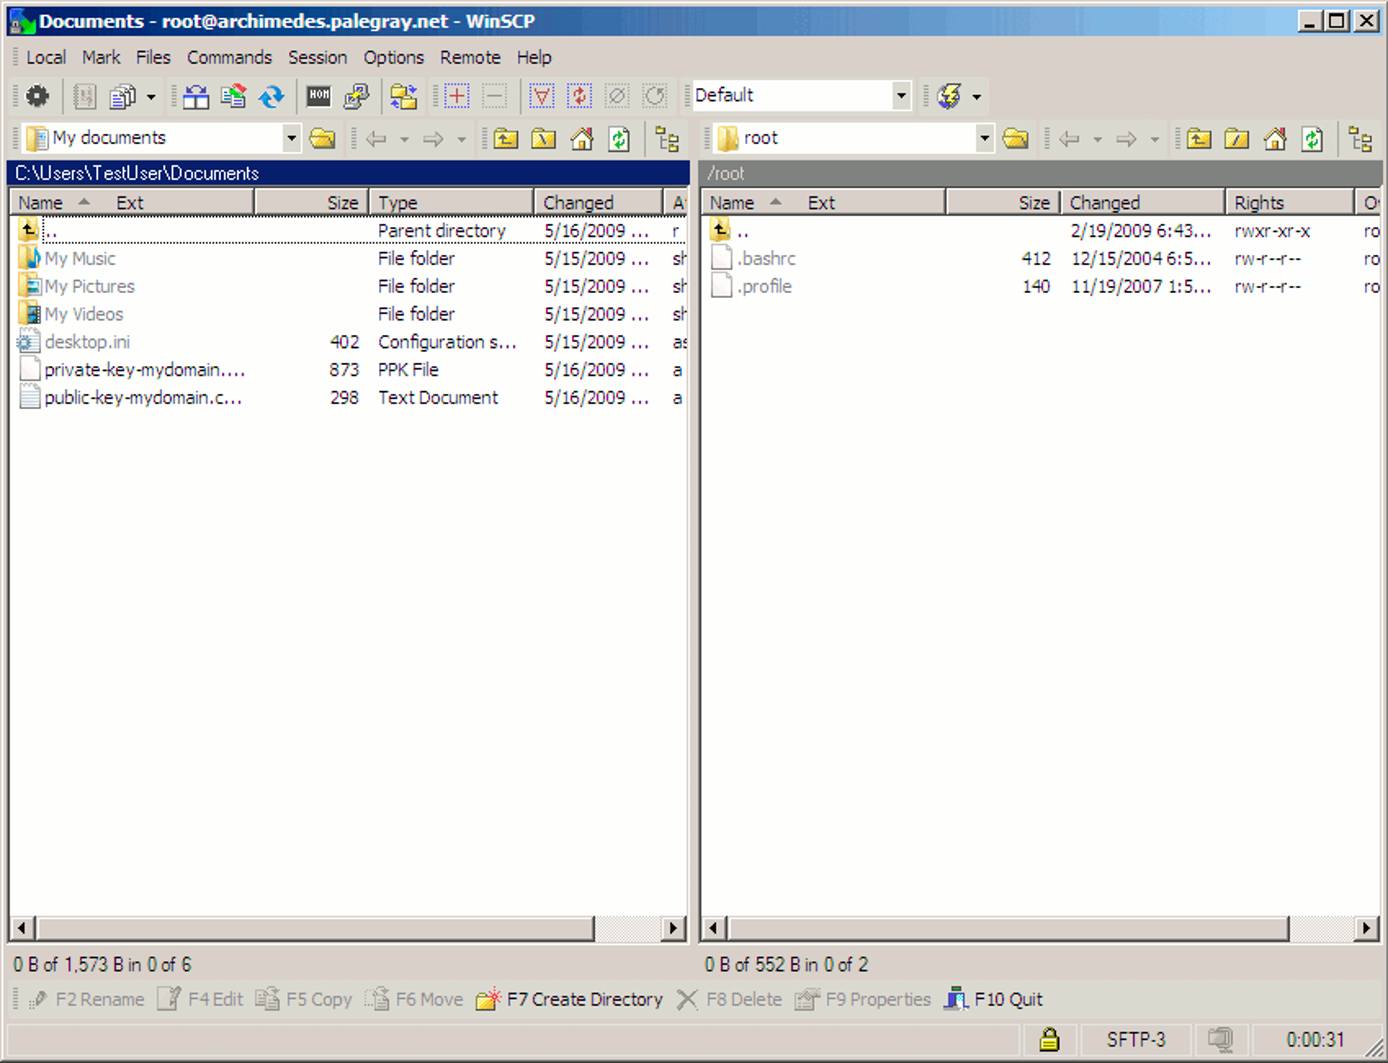
You can navigate your local filesystem in the left view pane, while your Linode’s filesystem is displayed on the right side. You may copy files between the two systems by simply dragging and dropping them between the panes. Congratulations, you’re now able to visually manage your remote filesystem using WinSCP!
More Information
You may wish to consult the following resources for additional information on this topic. While these are provided in the hope that they will be useful, please note that we cannot vouch for the accuracy or timeliness of externally hosted materials.
This page was originally published on

